This article was written 301 days ago. The content of the article may be out of date.
This note covers the management and monitoring, governance and compliance and cost management. This section account for about 30%-35% of the exam and provide a solid understanding of manage and governance Azure.
Management And Monitoring
Azure Resource Manager
Azure Resource Manager (ARM) is the core management layer in Azure. Without it, no operation — deployment, configuration, or monitoring — is possible. It acts as the central controller for all resource interactions.
Tools That Interact with ARM
You can use various tools to interact with Azure:
Azure Portal (GUI)
Azure PowerShell
Azure CLI
SDKs / REST APIs
Custom client apps
No matter which tool you use, all requests are routed through ARM.
How a Resource Deployment Request Flows
User sends a request through any management tool.
The request reaches ARM.
ARM then:
Authenticates the user (using Azure Active Directory).
Authorizes the user (using Role-Based Access Control).
Validates the request (checks if all required parameters are present and valid).
Standardizes the request (so every request looks the same regardless of source).
ARM identifies the appropriate resource provider:
Microsoft.Compute for VMs
Microsoft.Network for networking
Microsoft.Storage for storage
etc.
ARM forwards the request to the registered resource provider.
“Registered” is important: not all providers are available by default. Some need to be manually registered in the subscription.
The provider provisions the requested resource.
ARM generates an ARM Template (a JSON file) capturing:
Resource type and name
Subscription and resource group
Region
Configuration parameters
ARM Templates
JSON-based infrastructure-as-code representations of a deployment.
Allows for repeatable deployments.
Useful for automation and consistency.
You can redeploy similar resources by reusing or modifying the template.
Azure Bicep (Advanced Option)
A domain-specific language (DSL) that simplifies writing infrastructure as code.
Easier to read/write than raw ARM JSON templates.
Compiles to ARM template JSON under the hood.
Security & Consistency
All tools communicate with ARM over TLS 1.2 (secure channel).
Prevents interception or tampering.
Because ARM standardizes the requests, it ensures consistent behavior across all tools.
Summary of Roles
Component
Role
Azure Portal / CLI
Interface layer (user interaction)
Azure Resource Manager (ARM)
Core management layer: validates, routes, and standardizes
Azure AD
Authenticates users
RBAC
Authorizes users
Resource Providers
Actual services that provision and manage the resources
ARM Templates
Save deployment details for repeatability
Bicep
Higher-level IaC language over ARM templates
Azure PowerShell
A cross-platform scripting interface by Microsoft.
Text-based console where you type commands to manage Azure.
“Cross-platform” = works on Windows, Linux, and macOS.
Why Use PowerShell?
Ideal for repetitive, consistent, and scalable tasks.
Example: Deploying 100 virtual machines is tedious via the Portal, but quick with a script.
Cmdlet Structure
PowerShell commands are called “cmdlets”.
They follow the Verb-Noun format:
Example: New-Cake (hypothetical)
Verb: New
Noun: Cake
You can customize a cmdlet using:
Parameters (require a value)
e.g. -Message “Happy Birthday” (string in quotes)
e.g. -Flavor Chocolate (value without quotes, assuming it’s not a string)
Switches (don’t need a value)
e.g. -Now
Getting Started
PowerShell is built into most Windows machines.
You can install it on Linux/macOS.
To manage Azure, you need the Azure PowerShell module:
1
Install-Module -Name Az -Scope CurrentUser -Repository PSGallery -Force
Wait a few minutes to allow it to install.
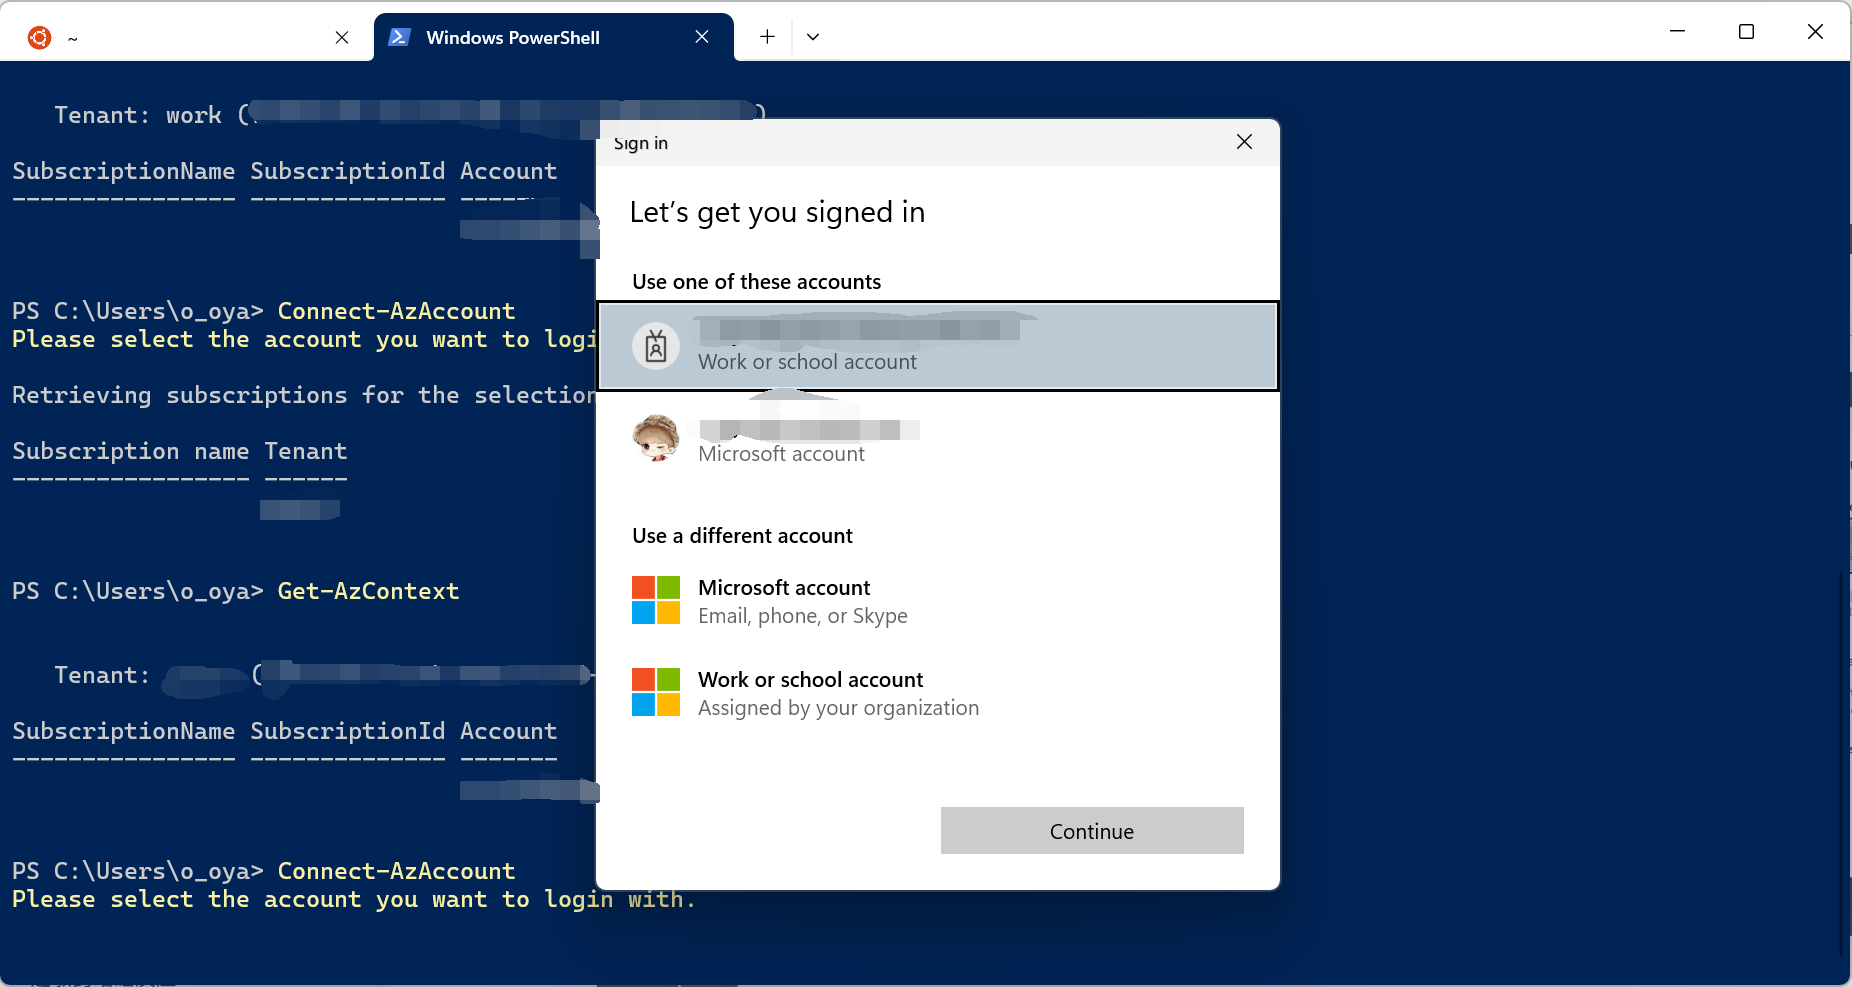
Authentication
You must connect to Azure with valid credentials.
1
Connect-AzAccount
Then you can check connection
1
Get-AzContext
Common Cmdlets for Azure Resource Deployment
New-AzVM → deploy a new virtual machine
New-AzVirtualNetwork → create a virtual network
New-AzStorageAccount → set up a storage account
Combine these with the right parameters and switches to automate deployments.
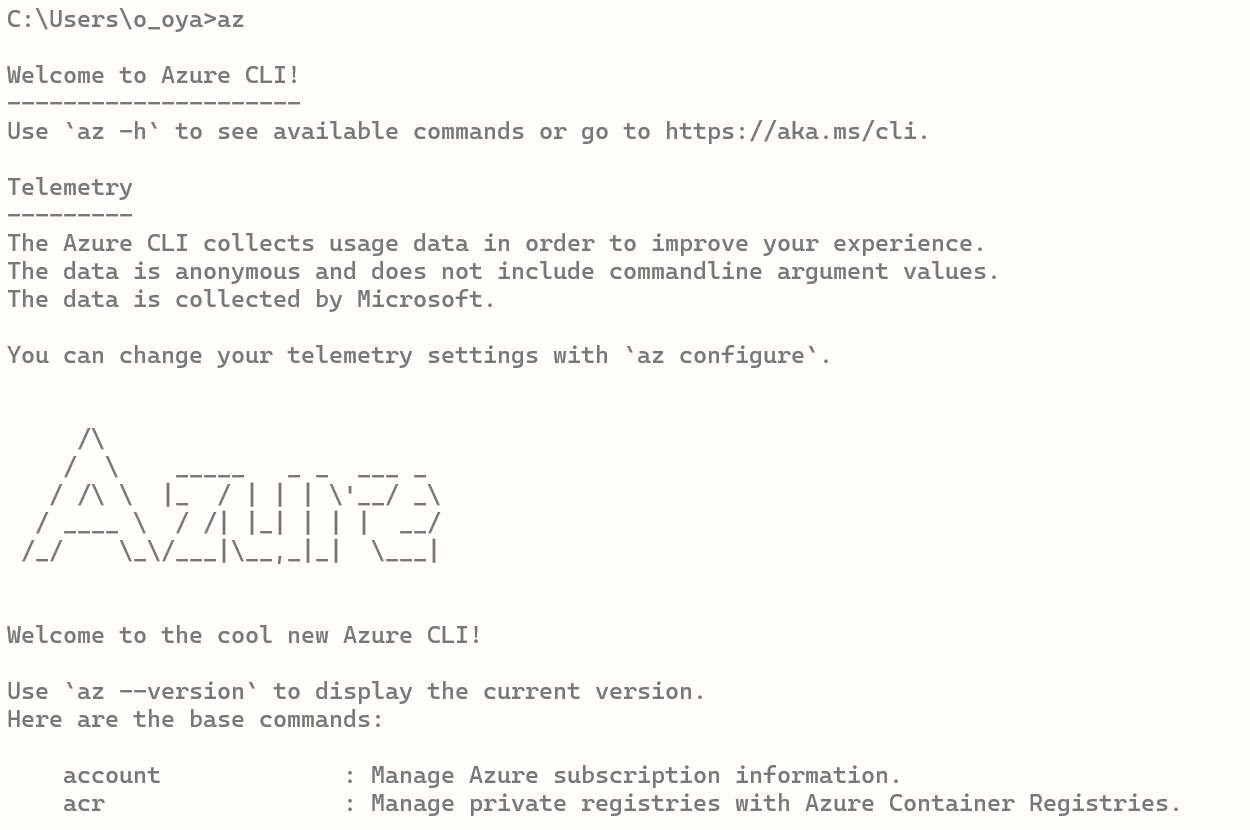
Azure CLI
Azure CLI is Microsoft’s cross-platform command-line tool for managing Azure resources. It allows you to execute tasks via text commands in various terminal environments.
How Is It Different from PowerShell?
PowerShell is a full scripting language and environment.
Azure CLI is a command-line tool (a module) that runs inside:
Windows Command Prompt
PowerShell
macOS Terminal
Bash on Linux
Both can manage Azure, but the syntax and style differ.
Who Should Use Which?
Use PowerShell if you have a Windows/Microsoft admin background.
Use CLI if you’re more familiar with Linux/Unix systems.
Both tools support most of the same actions, just in different formats.
Each command supports flags like –name, –resource-group, –location, etc.
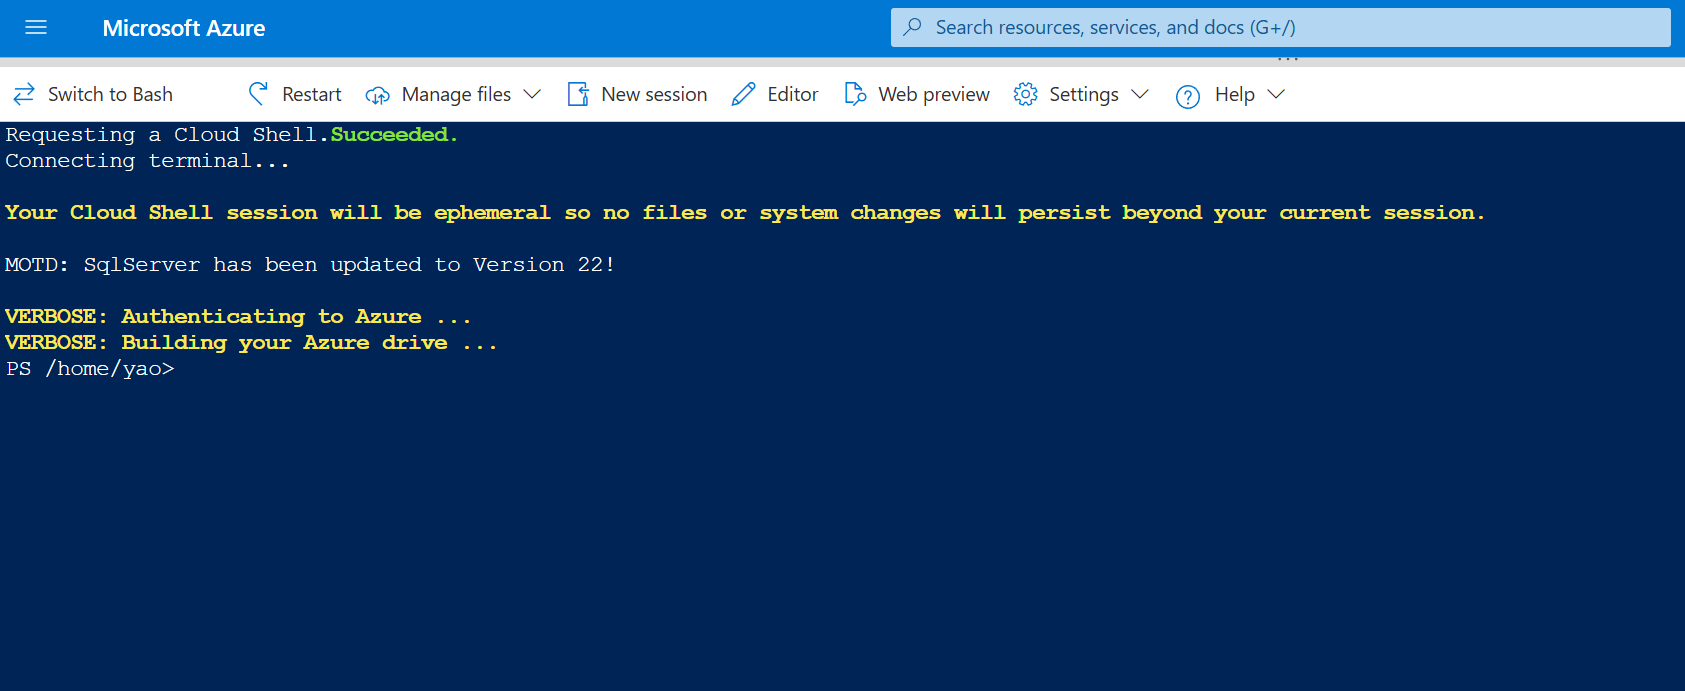
Azure Cloud Shell
Azure Cloud Shell is a browser-based command-line tool provided by Microsoft. It lets you manage your Azure resources without needing to install anything on your computer.
Key Features
Web-Based: No download or installation needed—just open a browser.
Available Anywhere: Works on any device (PC, Mac, phone, tablet).
Supports Both Bash and PowerShell: Choose your preferred environment.
Integrated with Azure Portal: Use it directly from the Azure Portal or go full screen at shell.azure.com.
Single Sign-On: If you’re logged in to the Azure Portal, Cloud Shell logs you in automatically—no extra authentication needed.
Persistent Storage: Cloud Shell uses an Azure storage account to save your files and scripts between sessions. The first time you use it, it will prompt you to create one automatically.
Bonus: IntelliSense (auto-complete suggestions) helps you fill in parameters.
Using Bash in Cloud Shell (with Azure CLI)
Why Use Azure Cloud Shell?
Feature
Benefit
No setup
Use instantly without installing CLI or PowerShell
Multi-platform
Works on Windows, Mac, Linux, and mobile
Integrated help
Use Get-Help or --help to learn commands on the fly
Visual feedback
See your actions reflected in the Azure Portal in real-time
Azure Arc
Azure Arc is a service that lets you manage on-premises, multi-cloud, and edge resources (like servers, VMs, databases) just like you manage native Azure resources—through the Azure Portal, Azure CLI, PowerShell, ARM templates, and policy.
Why do we need Azure Arc?
Most companies use:
Some resources in Azure
Some in on-premises datacenters
Some in other clouds like AWS or GCP
These environments typically need separate tools for management. Azure Arc removes that barrier by bringing all these resources into Azure’s management layer.
How Azure Arc Works (Simplified Flow):
You have an external resource Example: A physical server in your datacenter or a VM in AWS.
Azure Arc creates a “projection” of that resource in Azure It’s like a digital twin or a mirror of that external resource inside Azure.
You install an agent or run a script on the external machine This connects the external machine to its Azure projection.
Now you can manage it like a regular Azure resource! You can:
Apply RBAC (role-based access control)
Use Azure Policy
Monitor it with Azure Monitor
Enable Defender for Cloud
Tag and organize it
Heartbeat mechanism The resource sends a heartbeat every 5 minutes to Azure.
If no heartbeat = status becomes “Disconnected”
If heartbeat resumes = “Connected”
What kinds of resources can Azure Arc manage?
Physical or virtual servers (Windows/Linux)
SQL Server instances
Kubernetes clusters (AKS, on-prem, or even GKE/EKS)
Azure Stack HCI
VMware vSphere environments
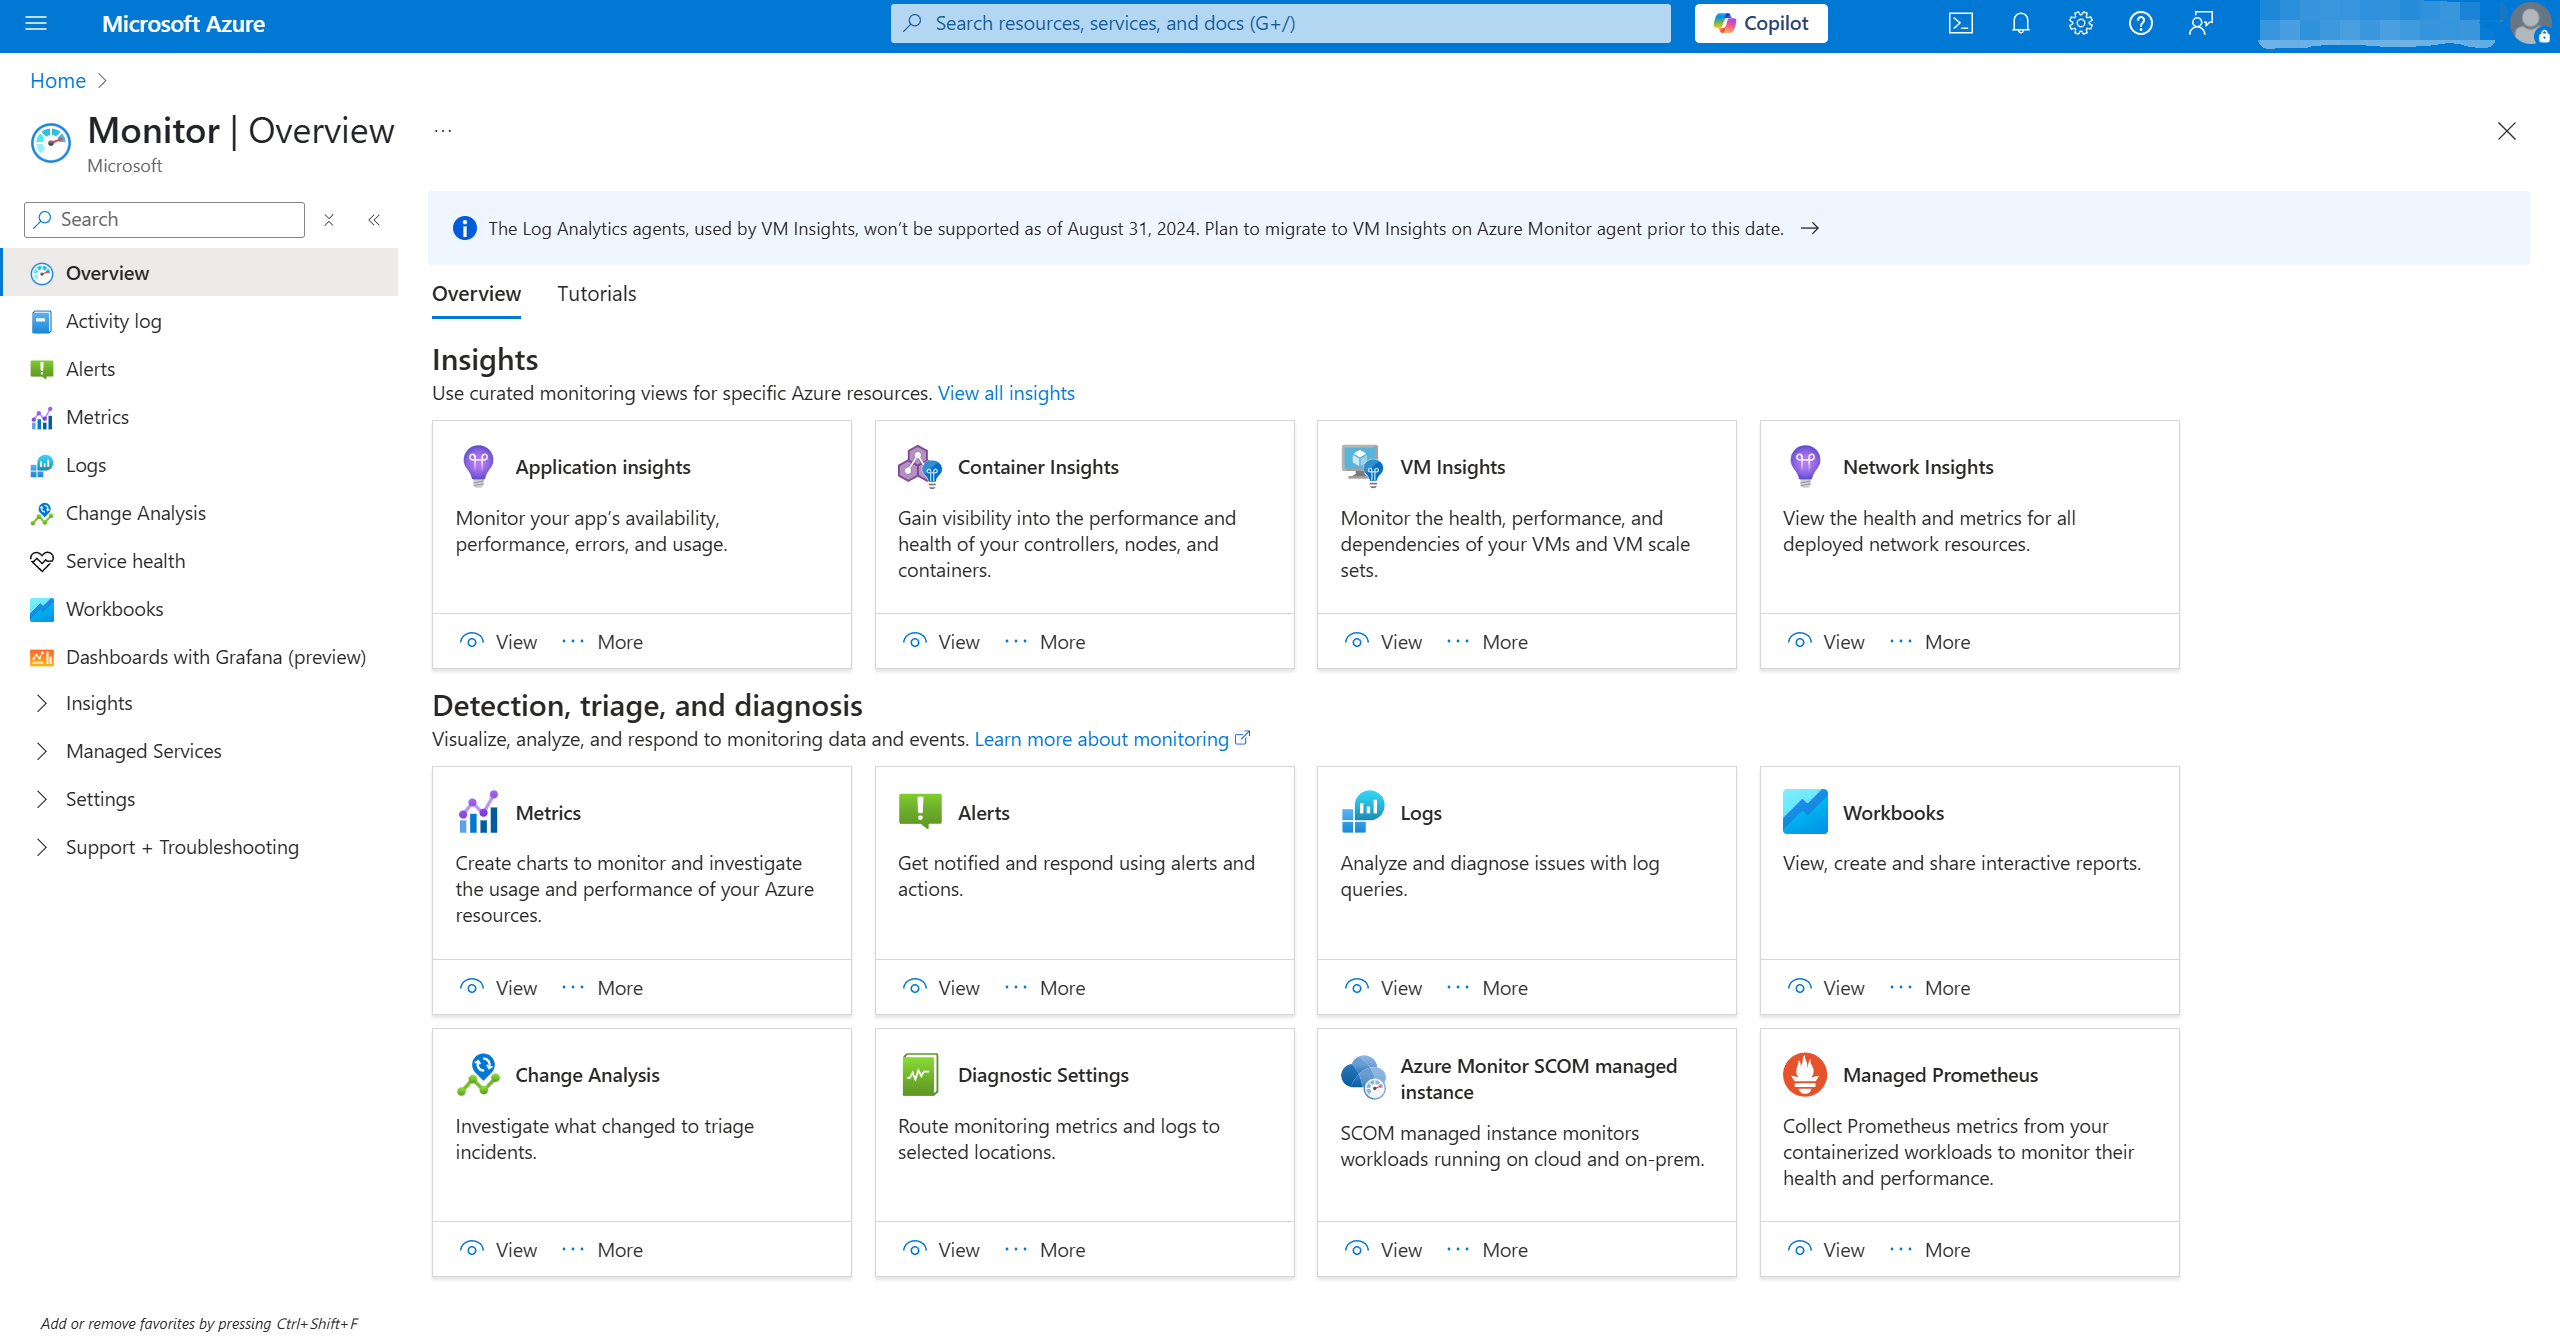
Azure Monitor
Azure Monitor is a full-featured monitoring platform that lets you track the health, performance, and availability of:
Azure resources
On-premises systems
Multi-cloud resources (e.g., AWS, GCP)
What Can Azure Monitor Track?
Virtual Machines (VMs)
Operating Systems
Containers (e.g., in AKS, Kubernetes)
Networking events
Databases (e.g., SQL, Cosmos DB)
Security-related events
Custom applications and events
Key Features of Azure Monitor
1. Log Collection & Storage
Azure Monitor collects and stores metrics and logs.
By default, logs are stored in Azure Monitor Logs.
You can route logs to a Log Analytics Workspace for deeper analysis.
2. Analysis Tools
Log Analytics: Query log data using Kusto Query Language (KQL).
Metrics Explorer: Visualize metrics as charts to spot trends/spikes.
3. Visualization Options
Azure Monitor integrates with:
Workbooks (interactive dashboards)
Azure Dashboards
Power BI
Or any external visualization tool (since logs can be exported)
4. Alerting and Automation
You can define Alert Rules based on thresholds or conditions.
E.g., CPU > 90% for 10 minutes.
Alerts can:
Send emails, SMS, push notifications
Trigger an automated action, like restarting a VM or scaling a service
These save time—you don’t need to build dashboards or alerts from scratch.
Azure Advisor
Azure Advisor is your personalized, built-in cloud consultant in Azure. It analyzes your deployed services and usage patterns and gives you practical, actionable recommendations to:
Improve performance
Strengthen security
Increase reliability
Achieve operational excellence
Reduce costs
Think of it as a smart helper that constantly reviews your environment and nudges you toward best practices.
The 5 Key Areas of Recommendations
Security: Helps you detect threats, fix misconfigurations, and align with industry standards.
Reliability: Ensures business continuity and application availability. Example: use of NAT gateway for stable outbound connectivity.
Performance: Improves app responsiveness and reduces latency. Suggests configuration tweaks or resource upgrades.
Operational Excellence: Guides you toward smoother workflows and best practices in deployment and management.
Cost: Helps you optimize cloud spend. Detects underutilized resources, suggests right-sizing, and other ways to save money.
How Does It Work?
Advisor regularly scans your environment.
It presents a list of recommendations, each with:
A category (e.g., cost, security)
A description and potential impact
Recommended actions
Links to implement the fix directly or learn more
You can:
Apply recommendations directly
Postpone them
Dismiss them (if not applicable)
Azure Advisor Score
A numerical score (e.g., 81%) gives a quick idea of how well you’re following best practices.
The score increases as you implement more recommendations.
Smaller environments may show fewer suggestions, but as your cloud usage grows, more insights appear.
Azure Mobile App
The Azure Mobile App is a lightweight management tool designed for administrators who need to monitor and manage their Azure resources while on the move. It’s available on both iOS and Android.
Key Features
Quick Access & Overview
Log in using your Azure credentials.
See a high-level overview of your environment right from the home page.
Manage Resources
You can perform basic administrative tasks such as:
Start, stop, and restart Virtual Machines (VMs) and containers.
View and manage:
Subscriptions
Resource Groups
Individual Resources
Identity & Access
Configure role-based access control (RBAC) for users.
Manage identity and permissions on the go.
Monitoring & Notifications
View activity logs and usage metrics.
Get real-time alerts and updates on resource health and Azure service status.
Built-in Cloud Shell
Use PowerShell or Azure CLI directly in the app.
Execute nearly any command or script without needing a laptop.
Why It’s Useful
Great for quick check-ins and actions when you’re away from your computer.
Ideal for incident response or urgent fixes.
Keeps you connected and notified in real-time, no matter where you are.
How to Get Started
Go to the App Store (iOS) or Play Store (Android).
Search for “Azure”.
Download and install the Azure app.
Log in with your Microsoft credentials.
Azure Service Health
Azure Service Health helps you stay informed about issues that may impact your Azure services—but from Microsoft’s side (the platform), not yours. It complements other monitoring tools by giving visibility into the health of the Azure cloud itself, rather than just your environment.
Shared Responsibility Model
Your responsibility: Your resources and configurations.
Microsoft’s responsibility: The availability and health of Azure services.
Azure Service Health focuses on Microsoft’s side and tells you when issues originate from Azure itself.
Personalized: Shows only the services and regions your tenant uses.
Includes:
Active incidents
Planned maintenance
Health advisories
Security advisories
Key Features in the Portal
Health Alerts
Get notified automatically when Azure services you rely on experience issues.
Alert customization:
Pick specific services (e.g., Azure Active Directory)
Select target regions (e.g., South India)
Choose types of events (incidents, maintenance, advisories)
Example Alert Setup Steps
Go to Service Health in the Azure Portal.
Click Create Service Health Alert.
Select:
Scope (subscription)
Services (e.g., Azure AD)
Region (e.g., South India)
Event types (e.g., incidents, advisories)
Define action group (e.g., email or webhook for notifications).
Review and create.
Benefits
Get real-time updates on Azure platform issues that affect you.
Avoid wasting time diagnosing problems that aren’t your fault.
Quickly identify impacted resources without manual checks.
Maintain transparency and trust through clear communication from Microsoft.
Governance and Compliance
Resource Locks
Azure Resource Locks are governance tools used to prevent accidental or unauthorized changes or deletions of resources within an Azure environment.
Key Features
Purpose:
Prevent unintended changes or deletions.
Protect against malicious modifications.
Types of Locks:
Read-only: Prevents all modifications; resource is accessible but not changeable.
Delete: Allows modifications but prevents deletion.
Scope of Application:
Can be applied at:
Subscription level (affects all resources under it)
Resource group level (affects all resources within the group)
Individual resource level
Inheritance applies: locks cascade down from higher scopes.
Difference from RBAC (Role-Based Access Control)
Resource Locks
RBAC
Applied to resources
Applied to users/groups
Prevents actions like delete/modify
Controls what actions users can perform
Overrides all roles (even admin users)
Permissions depend on assigned roles
Important Notes
Locks work through Azure Resource Manager (ARM), which blocks unauthorized operations.
Locks do not affect runtime behavior of apps:
E.g., a VM with a lock can still be used by an app to read/write to its disk.
But you can’t delete or change the VM settings until the lock is removed.
How to Apply a Lock
Navigate to the Azure resource (e.g., a VM).
In the left menu, go to Locks.
Click Add.
Provide:
Lock name (e.g., AZ 900 Lock 1)
Lock type (e.g., Delete)
Optional notes for context
Save. The lock is now active.
Attempting to delete the resource after locking will result in an error
Resource Tags
Resource Tags in Azure are Name:Value pairs used to add metadata to your resources for the purpose of organization, management, cost tracking, and visibility.
Think of them like sticky labels on storage boxes—helpful for sorting, finding, and categorizing.
Key Characteristics
Format:
Each tag consists of a Name and a Value (e.g., environment: testing).
Scope:
Can be applied at the:
Subscription level
Resource group level
Individual resource level
Flexible Usage:
There’s no fixed set of tags; you define them based on your needs.
Organization: Easily group and find related resources.
Cost Management: Break down billing by tags (e.g., total cost of “app1” resources).
Visibility: View or filter by specific tags in the Azure Portal.
Automation: Tags can be used in scripts or policies to automate resource governance.
Tagging Best Practices
Tags are stored in plain text (not encrypted).
Do not store confidential info (e.g., passwords or keys) in tags.
Maintain consistent naming conventions across your organization for easy filtering and standardization.
How to Add a Tag (Demo Summary)
Go to the Azure resource (e.g., VM: az 900 vm1).
Click on “Click here to add tags”.
Add a tag (e.g., environment: az900 demolab).
(Optionally) Add more tags.
Click Save.
Once saved, clicking on a tag shows all other resources with that same tag—making it easy to manage groupings like demo labs or test environments.
Azure Policy
Azure Policy is a governance tool in Azure that helps enforce organizational standards and compliance rules automatically — before or after resources are created.
Why Use It?
Without policy: Users can freely create any resource, with any name, size, region, or config — this gets messy fast in large orgs.
With Azure Policy: You can control and streamline how resources are created, improving security, cost management, performance, and standardization.
What Can Azure Policy Do?
Here are examples of what you can enforce:
Naming conventions e.g., force all production resources to start with prod-.
Allowed VM sizes Only allow sizes between 4 vCPUs/8GB and 16 vCPUs/32GB RAM.
Storage type Enforce premium storage only for performance-sensitive workloads.
Use of service endpoints Block public IPs in VNets for better security.
Allowed or disallowed regions Ensure resources are only deployed in approved Azure regions.
Mandatory tags Enforce that all resources include tags like environment, owner, or costCenter.
Resource locks Automatically apply locks on critical resources to prevent accidental deletion or modification.
Scope of Application
You can apply policies at different levels:
🔹 Management Group (highest)
🔹 Subscription
🔹 Resource Group
🔹 Individual Resource (lowest)
Policies inherit top-down, but you can exclude specific child scopes if needed.
How Is It Defined?
Azure Policy is written in JSON format.
You can use built-in policies, modify them, or write custom ones.
{ "properties":{ "displayName":"Require a tag on resources", "policyType":"BuiltIn", "mode":"All", "description":"This policy ensures that all resources have the tag 'environment'.", "parameters":{ "tagName":{ "type":"String", "metadata":{ "displayName":"Tag Name", "description":"Name of the tag to enforce" }, "defaultValue":"environment" } }, "policyRule":{ "if":{ "field":"[concat('tags[', parameters('tagName'), ']')]", "exists":"false" }, "then":{ "effect":"deny" } } } }
Remediation
If you apply a new policy and some existing resources don’t comply, you can run a remediation task to bring them into compliance (e.g., adding missing tags, changing SKU types).
Azure Blueprint
Azure Blueprint is a way to package everything that defines your Azure environment — including infrastructure, policies, access control — so you can recreate that same environment in a consistent, repeatable way across subscriptions.
What does an Azure Blueprint include (i.e., its “artifacts”)?
ARM Templates – Infrastructure-as-code definitions for the resources you want to deploy.
Resource Groups – Logical containers to organize and place your resources.
Role Assignments – Who has access to what, based on RBAC.
Azure Policy Assignments – Governance rules that should apply to the environment.
Why use Blueprints?
Reuse: Create a known-good configuration once and reuse it across teams or environments.
Standardization: Enforce organizational standards from the beginning.
Speed: Deploy complex environments to new subscriptions quickly and consistently.
Compliance: Ensure things like tagging, region restrictions, and VM sizes are enforced right from deployment.
Blueprint Lifecycle
Draft – You define the blueprint and add artifacts.
Publish – Once finalized, publish the blueprint (you must do this before using it).
Assign – Apply the published blueprint to a subscription.
Parameters – Can be defined inside the blueprint or provided at assignment time (like region, resource name prefixes, etc.).
Global Reach
Blueprints are stored globally, so you can apply them across regions and subscriptions — ensuring consistency even in multi-region environments.
Azure Purview
Azure Purview is a comprehensive data governance solution designed to help organizations manage their data across various environments, including on-premises, cloud, and hybrid setups. Here’s a breakdown of how it works:
What Does Azure Purview Do?
Data Governance: Helps organizations manage, protect, and classify data across multiple environments (Azure, AWS, GCP, on-premises).
Data Map: Purview creates a centralized data map that identifies where sensitive data is located across different platforms and applications.
Compliance & Security: Ensures compliance by applying sensitivity labels to data and monitoring its usage and access.
Risk Management: Purview helps in identifying risks and creating a secure environment for data access and consumption.
Data Lineage: Tracks how data flows through systems, providing visibility into its origin, movement, and transformation.
Onboarding Data to Purview (4 Steps):
Register: Define the scope of data sources to be included in Purview, which could be from Azure, AWS, GCP, or on-premises systems.
Scan: Purview scans the registered data sources to create an accurate data map.
Ingest: Once the data sources are registered, Purview ingests the data, categorizing it and adding necessary metadata.
Assign Sensitivity Labels: Apply sensitivity labels to categorize data (e.g., personal data, financial data) to ensure that appropriate policies are applied for security and compliance.
Supported Data Sources:
Purview supports a wide variety of both Microsoft and non-Microsoft data sources:
Microsoft: Azure Storage, SharePoint Online, OneDrive, Power BI, Exchange Online, etc.
Non-Microsoft: Amazon S3, Google BigQuery, Oracle Databases, SAP HANA, Salesforce, and more.
Authentication Methods:
Purview supports multiple authentication methods to handle different data sources:
Managed Identities
SQL Authentication
Windows Authentication
Basic Authentication
Use Cases:
Data Protection: Identify and classify sensitive data across platforms to ensure it’s protected appropriately.
Data Compliance: Ensure data complies with organizational or regulatory requirements by applying and managing sensitivity labels.
Data Insights: Gain visibility into how data is used, where it is stored, and how it flows through the system.
Public Website: Unlike Azure tools, the Service Trust Portal is a public-facing site that provides resources related to compliance, security, and privacy for Azure users.
Certification & Compliance: It hosts detailed information about technical certifications, standards, and regulations Azure complies with. This includes:
ISO Certification
SOC (System and Organization Controls)
GDPR (General Data Protection Regulation)
FedRAMP (Federal Risk and Authorization Management Program)
PCI-DSS (Payment Card Industry Data Security Standard)
These certifications prove that Azure meets certain security and privacy standards across different industries and regions.
Key Features of the Service Trust Portal:
Industry and Regional Compliance:
Azure provides compliance with industry-specific regulations, such as financial services, healthcare, and media & entertainment.
It also complies with regional regulations in many countries, including the U.S. government compliance standards.
Reports, Whitepapers, and Artifacts:
Business Continuity & Disaster Recovery: Reports on Azure’s business continuity plans.
Pentesting & Security: Documents detailing how Azure manages security risks and conducts penetration testing.
Privacy & Data: Information on how Azure protects customer data and maintains privacy.
Frequently Asked Questions:
Common customer questions about Azure’s security, compliance, and governance measures are answered by Microsoft.
Purpose:
Instill Trust: The Service Trust Portal is meant to showcase Microsoft’s commitment to security, compliance, and privacy. It is particularly useful for customers who have stringent security and compliance needs.
Transparency: It helps customers understand how Azure meets regulatory and industry-specific requirements.
Use Cases:
For Compliance Officers: To ensure your organization meets necessary standards and regulations.
For Security Teams: To understand the security measures Azure has in place, such as penetration testing and disaster recovery strategies.
For Legal and Privacy Teams: To review Azure’s compliance with privacy laws like GDPR(General Data Protection Regulation).
Cost Management
Cost Factors
Type of Resource and Its Usage
You’re only charged for resources that perform compute, networking, or storage functions.
Resources like subscriptions, management groups, and resource groups are free because they define structure but don’t consume compute power.
Compute Resources
Cost factors include:
Size of the resource (e.g., small vs. large VM).
Operating System (Windows typically costs more than Linux).
Runtime environment (e.g., .NET, Java).
Number of instances (for containers, functions).
Transactions or executions (especially for functions and app services).
Networking Resources
Costs vary based on:
Ingress (data coming into Azure) – usually free.
Egress (data going out) – charged based on destination:
Same region (cheaper or free),
Cross-region,
Outside Azure (most expensive).
DNS usage is billed based on the number of name resolution queries.
Storage Resources
Key pricing elements include:
Account type (Standard vs. Premium).
Data type (Blobs, Queues, Tables).
Data size (more storage = higher cost).
Access tier (Hot > Cool > Archive in cost).
Redundancy level:
LRS (Locally Redundant),
ZRS (Zone Redundant),
GRS (Geo Redundant),
GZRS (Geo-Zone Redundant).
Region of Deployment
Prices vary by region due to differences in:
Energy costs,
Water and internet infrastructure,
Salaries for local data center personnel.
Cost variation is typically a few dollars between regions.
Purchase Method
Pay-as-you-go: Standard retail price.
Enterprise Agreement (EA): Negotiated bulk pricing with Microsoft.
Microsoft Sales Partner: Helps negotiate and manage your licensing and may offer bundled deals.
Summary Table
Factor
Examples & Details
Resource Type & Usage
VMs, containers, functions – measured by size, OS, transactions, instances
Networking
Egress/ingress traffic, region, DNS query volume
Storage
Data size, access tier (Hot/Cool/Archive), redundancy (LRS, GRS, etc.)
Region
Based on local infrastructure & labor costs – slight variations across geographies
Purchase Source
Pay-as-you-go vs. EA vs. Partner pricing
Pricing Calculator
The Azure Pricing Calculator is a powerful tool that helps you estimate the monthly cost of running services and resources in Azure. It allows you to configure different resources, such as virtual machines, networking, storage, and more, and gives you a price estimate based on the selected configurations. Here’s a breakdown of how it works:
Key Features:
Customization:
You can specify the type of services and resources (compute, networking, storage, etc.) you want to deploy in your Azure subscription.
For each resource, you can select its configuration (e.g., size of a virtual machine, region of deployment, operating system, etc.).
Savings Options:
Savings Plan: You can commit to a fixed hourly amount for a term of 1 or 3 years, unlocking discounts (up to 32%).
Reserved Instances: You can reserve resources for 1 or 3 years and pay in advance, unlocking larger discounts (up to 57%).
Hybrid Benefit: If you already have on-premises licenses (like Windows Server or SQL Server), you can use them to reduce costs for Azure resources.
Support Plan:
The tool allows you to add a technical support plan (basic is free, but you can upgrade to more comprehensive options).
Estimates and Sharing:
Once you’ve entered all your resources and parameters, the calculator provides an estimated monthly cost.
You can save the estimate for later, export it for business records, or share it with teams (finance, executive, etc.) for review.
Example Scenarios and FAQs:
The calculator also includes example scenarios and frequently asked questions, helping you better understand the pricing structure and how to use the tool effectively.
How It Works:
Select Resources: You start by selecting the resources (e.g., Virtual Machines) you want to estimate the cost for. The calculator allows you to add multiple resources.
Customize Configuration: Once the resource is added (like a VM), you can select things like:
Region: Where the service will be deployed.
Operating System: Windows or Linux.
Instance Size: The number of CPUs, memory, and storage required.
Apply Savings: You can choose savings plans, reserved instances, and hybrid benefits to get discounts.
View Estimate: The tool then shows you the cost estimate based on your configurations, and you can adjust the plan if needed.
Export/Save: Once you’re happy with your estimates, you can save them to your Azure account or export them for later use.
Example Walkthrough:
Virtual Machine Estimate:
Suppose you select a Windows VM with 2 CPUs, 8 GB of RAM, and 50 GB of storage.
You can then adjust the instance size to something larger like a DS14-8 VM with 8 CPUs, 112 GB RAM, and 225 GB of storage.
The tool shows you the estimated price ($1,643). You can then apply a 1-year savings plan, which reduces the cost to $1,495, or use a 3-year reserved instance to lower it further to $1,095.
Cheaper VMs: If you opt for smaller VMs, like one with 1 CPU and 1 GB of RAM, the estimate may drop to as low as $7 per month.
The Total Cost of Ownership (TCO) Calculator is another tool designed by Azure to help organizations assess the financial implications of running workloads in the cloud versus on-premises. It differs from the Pricing Calculator in that it takes into account tangential costs—the additional costs associated with running infrastructure on-premises.
Key Features of the TCO Calculator:
Comparison Between On-Premises and Cloud Costs:
The primary purpose of the TCO calculator is to compare the cost of running workloads on-premises vs. in Azure.
This helps you understand whether migrating to the cloud will be more economical over time.
Tangential Costs:
The calculator includes indirect costs that organizations often overlook, such as:
Hardware: The cost of purchasing and maintaining servers and other infrastructure.
Electricity and Cooling: The energy costs to power and cool your on-premises equipment.
Physical Security: The cost of securing the physical premises.
IT Staff: The cost of IT personnel needed to manage and maintain on-prem infrastructure.
Easy Input:
You don’t need to list every cost individually. You simply need to provide information about your on-premises workloads and their configurations (e.g., virtual machines, storage, databases).
Based on this data, the TCO calculator automatically estimates your on-premises costs.
Adjustable Values:
If the default cost estimates seem incorrect, you can adjust them with actual figures and set the currency you prefer for the calculation.
Five-Year Cost Comparison:
Once all the data is entered, the TCO calculator shows a side-by-side comparison of your on-premises vs. Azure costs over the next five years.
This comparison helps you decide whether moving to Azure is financially advantageous or if maintaining on-prem infrastructure is still more cost-effective.
Hybrid Approach:
Often, organizations may find a hybrid approach (a mix of on-prem and cloud solutions) to be the most economical. The TCO calculator helps in making this decision by showing the costs for both options.
Export and Save:
Like the pricing calculator, you can save and export the TCO estimate for future reference or to share with other stakeholders, such as the finance team or executives.
Why It’s Useful:
Informed Decision-Making: The TCO calculator provides an in-depth view of the total costs involved in running workloads in the cloud versus on-premises, helping you make a more informed decision about your cloud migration.
Cost Optimization: By factoring in all the additional costs of maintaining on-premises infrastructure, the TCO calculator can help you identify areas where you can save money by moving to the cloud.
Example:
If your organization is considering migrating a web application to Azure, the TCO calculator would take into account the cost of servers you need to run the app, the electricity costs for powering these servers, the cooling requirements to keep the servers running efficiently, and the physical security required to protect the infrastructure. It would then compare these total costs with the cost of running the same workloads on Azure.
Cloud Pricing Model
In Azure, there are different cloud pricing models for Virtual Machines (VMs), each designed to optimize costs based on your usage needs. Here are the three primary models:
Pay-As-You-Go (PAYG)
Description: This is the default pricing model for Azure. You pay for the resources (VMs, storage, etc.) you use, without any upfront commitment.
How it works: You can spin up a VM and delete it anytime. You’re billed at the retail price for the time the VM is running.
Ideal for:
Short-term projects.
Flexible usage where you don’t need long-term commitments.
On-demand resources where uptime and performance requirements are not as critical.
Reserved Instances
Description: With Reserved Instances (RIs), you make a 1- or 3-year commitment to use a specific VM configuration and pay upfront for the term.
Discount: In exchange for this upfront commitment, you get a discount on the regular pay-as-you-go price. The longer the commitment, the higher the discount.
How it works: You lock in resources (e.g., VM size, region, operating system) for the term, and Azure will reserve that capacity for you.
Ideal for:
Long-term, predictable workloads.
Applications that need consistent compute capacity over a long period (e.g., production servers).
Users who want to save money on VMs by making an upfront commitment.
Spot Instances
Description: Spot Instances allow you to take advantage of unused Azure compute capacity that is being auctioned at a significantly reduced price.
How it works:
Spot Instances are only available when Azure has extra unused capacity.
Azure can reclaim the capacity at any time, meaning your workloads may be interrupted and your VMs can be stopped without notice.
Ideal for:
Low-priority workloads that can tolerate interruptions (e.g., testing, batch processing, or research).
Applications where it doesn’t matter if the VM is shut down unexpectedly.
Cost-sensitive users who can take advantage of lower prices but can work around the potential disruptions.
Description: If you already have on-premises licenses for Windows Server or SQL Server, you can reuse those licenses in Azure for a discount on virtual machine resources.
How it works: You don’t need to purchase new licenses for Azure. You can apply your existing licenses to reduce the overall cost of running workloads on Azure.
Ideal for:
Organizations with existing software licenses who want to migrate workloads to the cloud without buying new licenses.
Businesses that want to reduce their Azure licensing costs by leveraging their existing investments in on-premises software.
Cost Management and Billing
Key Features of Cost Management and Billing:
Cost Insights
This tool provides detailed cost insights into your Azure resources, allowing you to analyze your spending trends over time.
It helps you understand where your money is going, which services or resources are consuming the most budget, and which regions or resource groups are incurring the highest costs.
Cost Analysis
You can view detailed cost breakdowns by parameters like services, resource groups, resources, tags, and more.
It helps you track your current and forecasted spending, breaking it down by day and estimating monthly totals.
You can also change the currency to match your preferred unit for reporting.
Setting Up Alerts and Budgets
One of the most powerful features is the ability to set up spending alerts. You can define thresholds, so you’re notified when your costs approach or exceed a set limit.
Budgets can be created to track your expenses against a target and help prevent overspending.
Advisor Recommendations
Azure Advisor provides recommendations on how to optimize costs, such as downsizing resources, shutting down unused services, or adjusting configurations to save money.
This feature helps to ensure that you’re not overprovisioning and that you’re using resources efficiently.
Manage Billing Settings
You can modify payment settings, add or change credit cards, configure wire transfers, and view past invoices.
Additionally, you can transfer billing ownership between accounts, set up email notifications for invoices, and manage subscription status.
Delegating Billing Management
It’s a best practice to delegate the task of cost management to a dedicated billing administrator, ideally someone in the finance department.
By doing so, you can ensure that cost monitoring is handled by someone who understands cloud costs while you focus on more critical tasks related to your business operations.
Cost Management and Billing in Action:
Once you’re in the Azure portal, you can navigate to Cost Management and Billing.
On the overview page, you’ll find links to tools and resources that will help you analyze and optimize costs.
The Cost Analysis tool displays daily spending graphs and forecasts your expenses for the rest of the month. You can see a breakdown by resource type, region, and resource group, making it easy to pinpoint where the most significant expenses are occurring.
You can also create alerts for certain spending thresholds, helping prevent unexpected cost overruns.
Use Case:
In practice, you might notice that certain resource groups or regions are consuming more budget than expected. For example, if you’re using South US region the most, you might find that resources deployed there are causing higher-than-expected costs. This could prompt you to either optimize the resources, switch to another region, or adjust configurations to save costs.
Best Practices:
Delegate billing to someone from the finance department who can manage costs and understand the financial impact of cloud services.
Use cost alerts and budgets to monitor spending and avoid surprises.
Leverage Advisor recommendations to ensure your resources are optimized for cost-efficiency.